Spill Kits Done Right: A Checklist for Absorbents, Booms, and PPE
Last year I walked into a 3PL warehouse in Riverside where a forklift had punched through a 55-gallon drum of lubricating oil on the dock. Oil was running toward the storm drain. Two workers stood there for a good three seconds — one ran for paper towels, the other ran for a phone. The paper towels disappeared in about a second. Never mind the fine that followed; the floor cleanup alone took two days.
I see this story several times a year. It's almost never that they bought no spill supplies. It's that they bought the wrong amounts, stored them in the wrong place, or never practiced using them. So here's the full checklist: how much absorbent you actually need, which types to buy, how to deploy booms, and how to handle PPE and drills.
Do the math: how much absorbent is enough?
Short answer: size your kit to the largest single spill you could realistically face, not to a gut feeling. Three steps:
Step one, define the spill scenario. A typical warehouse plans for two tiers: the everyday small spill (under 5 gallons — a forklift nicking a drum, a dripping valve) and a full-drum release (55 gallons). If you run a dedicated hazmat area, add a tier above your largest container.
Step two, calculate absorbent weight. Manufacturers publish an "absorption ratio" for their products; polypropylene runs around 20–25 times its own weight (verify against the manufacturer's spec sheet). The formula:
Absorbent needed (lbs) = spill volume (gal) × fluid density (lbs/gal) ÷ absorption ratio × 2 (safety factor)
Run it for common lube oil: 55 gal × 7.5 lbs/gal ≈ 410 lbs. 410 ÷ 20 = 20.5 lbs, times the safety factor of 2 → about 40 lbs of absorbent. In pad terms, that's roughly 120–150 standard 15×19-inch pads.
Water-based chemicals (aqueous cleaners and the like) are close to water in density (8.3 lbs/gal), but here's the trap: polypropylene doesn't absorb water. You need universal meltblown pads with an absorption ratio of only 8–15×, so the same 55 gallons calls for 60–80 lbs. Buy the wrong material and your kit is useless exactly when the wrong chemical spills.
Step three, buy to a kit tier. What I usually recommend: a 20-gallon kit for quick response to small spills (40–50 pads plus 4 socks), a 55-gallon kit for a full-drum release (the ~40 lbs of absorbent calculated above plus 8–10 socks), and a 95-gallon kit for dedicated hazmat storage or where regulations demand it. A mid-size warehouse should have at least one 55-gallon kit; facilities over about 20,000 square feet get one spill station every 15,000–20,000 square feet.
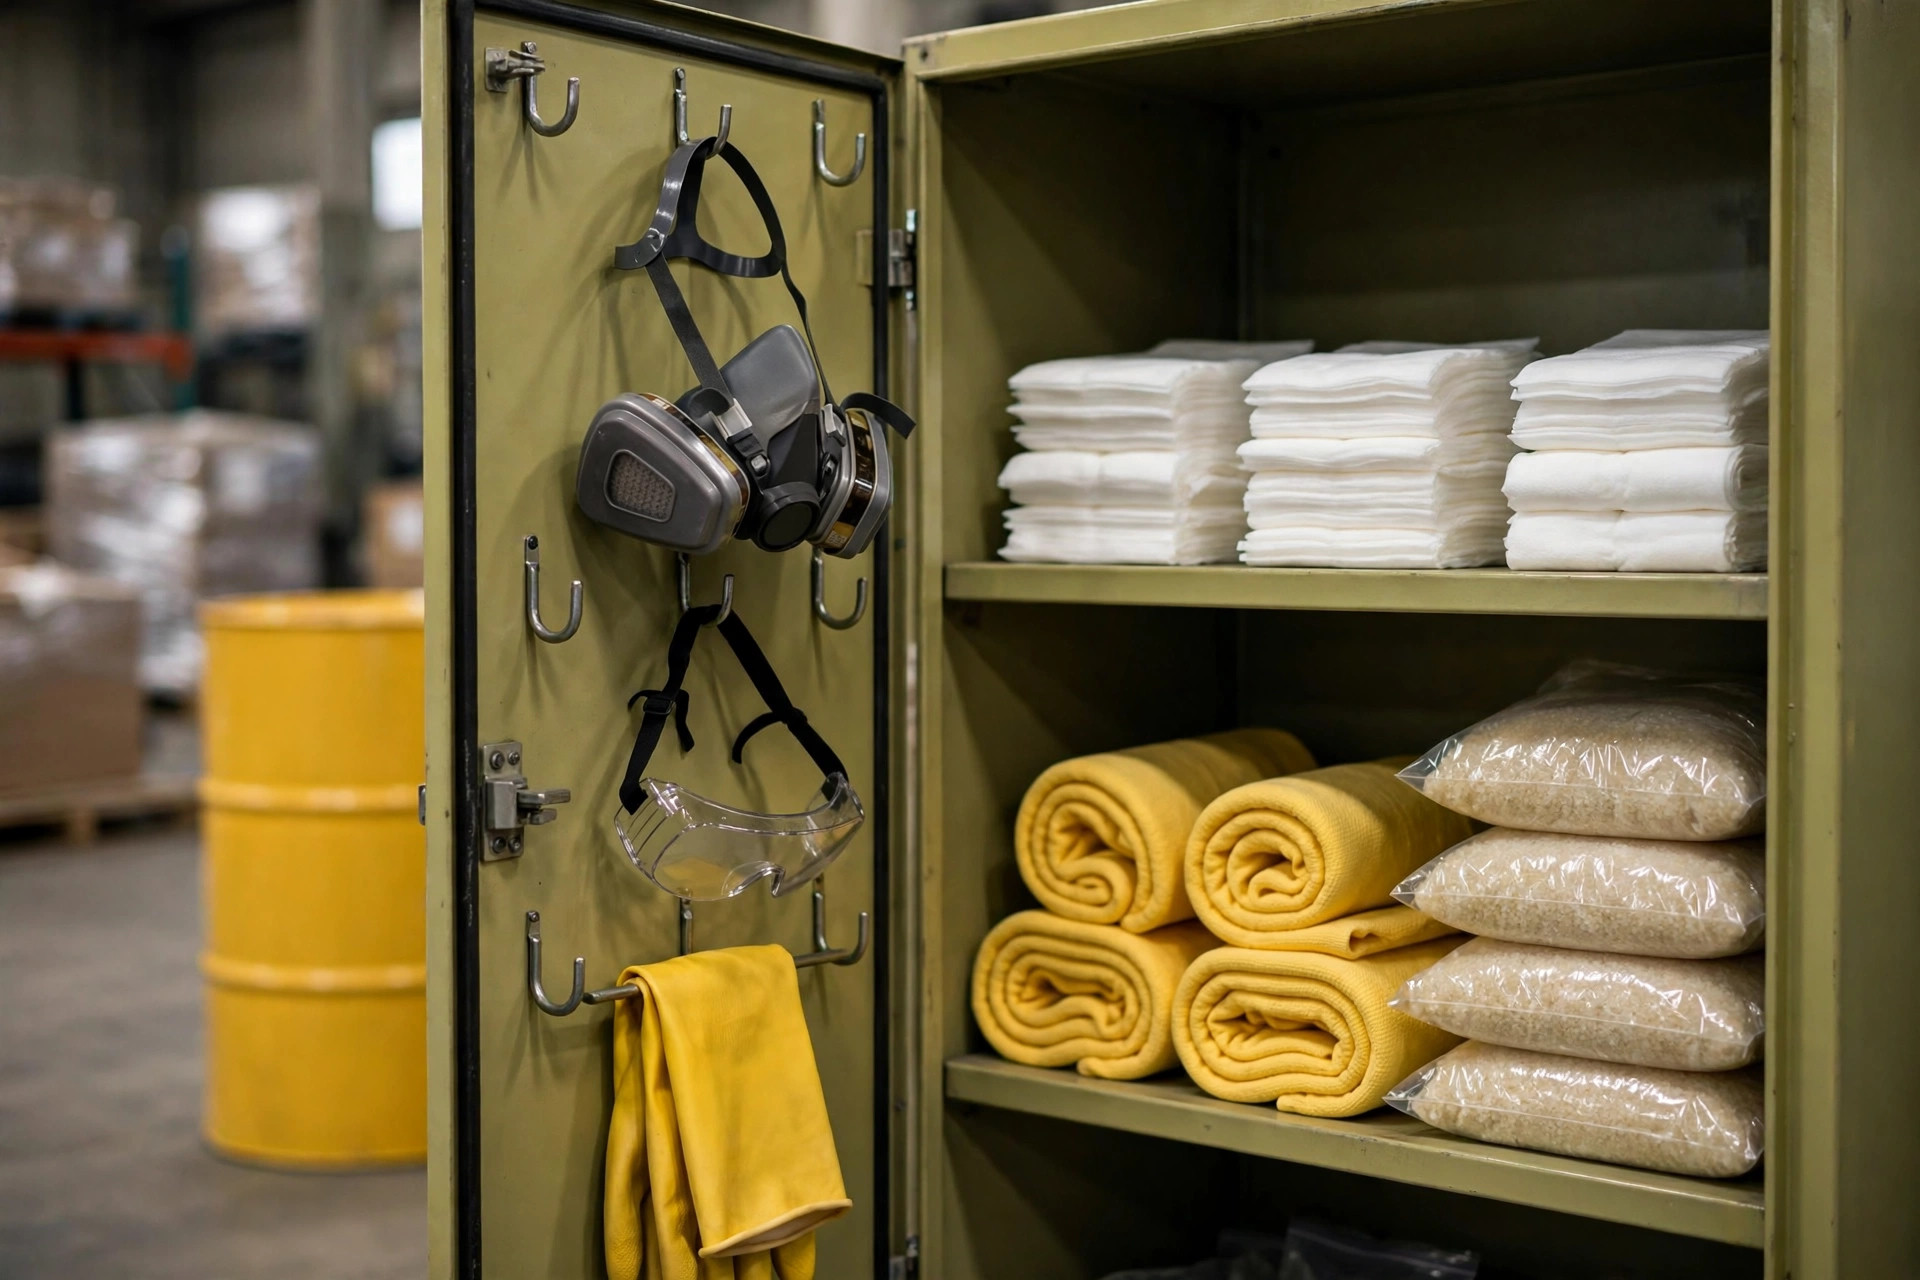
Know your absorbents — buying wrong is worse than buying nothing
Three main types on the market, and mixing them up will cost you when it matters:
Universal (gray): absorbs both oil and water. The workhorse for general maintenance and mixed spills. Trade-off: middling absorption ratio, less efficient than the specialists for pure oil.
Oil-only (white): absorbs oil, repels water — it'll float. If your warehouse mostly stores lubricants, hydraulic fluid, or diesel, white pads are the most efficient choice. Use the same sizing math as above with a ratio of 20–25.
Hazmat/chemical (yellow): for corrosive chemicals. Strong acids and alkalis will eat through ordinary pads; yellow pads use chemically inert material. Caveat: not every yellow pad resists every chemical. Cross-check against section 6 ("Accidental release measures") of your SDS before buying.
Two accessories worth the small money: absorbent rolls (long strips you lay down as a dike along the spill path and as walkway protection) and absorbent pillows (pillow-shaped, wedge them under drums and into gaps for slow seepage). Cheap, and handier than pads in the moment.
My verdict: for 80% of general warehouses, a stock of gray universal plus white oil-only pads, topped up with yellow pads matched to your chemical inventory, covers it. Don't chase the cheapest no-name product — pads with inflated absorption ratios are the cruelest kind of false economy, because you only discover the truth mid-emergency.
Booms: contain first, clean second
Too many people treat absorbent pads as the whole answer. Wrong. The first rule of spill response is control the spread; absorption comes second. Oil in a storm drain or in the soil costs ten times more to remediate than oil on a concrete floor.
Absorbent socks: 3-inch diameter, 8–10 feet long — the "sausages" you ring around the spill. Oil versions are white, universal ones gray. Lay them flat against the floor and overlap joints by at least 6 inches; no gaps. A 55-gallon spill needs at least 8–10 socks.
Leak sealing gear: for a cracked drum. The most practical tools are epoxy plugging putty (knead it over the crack — buys you time) and tapered leak plugs (wood or rubber, hammer into the puncture). Add a roll of chemical-resistant tape and a small pry bar. This whole bundle costs tens of dollars and can buy you half an hour.
Drain covers: the most overlooked item. Any storm drain or floor drain within about 30 feet of a spill risk point should have a pre-fitted cover ready — a rubber drain mat that seals on contact, or an inflatable drain plug. That Riverside warehouse paid the price here: oil reached the storm drain, the cleanup contractor billed it as an environmental incident, and it ran about $20,000 a day.
Here's the shopping list, straight up:
| Item | Spec | Qty (55-gal kit) | Notes |
|---|---|---|---|
| Universal pads | 15×19 in | 80–100 | Mixed oil/water spills |
| Oil-only pads | 15×19 in | 40–60 | Add if oil is your main risk |
| Chemical pads | 15×19 in | Per SDS | Required for acids/alkalis |
| Absorbent socks | 3 in × 10 ft | 8–10 | Ring first, absorb second |
| Absorbent pillows | Standard | 4–6 | Under drums, gap seepage |
| Plugging putty | 2-lb pack | 2 | Knead over cracks |
| Leak plugs | Set | 1 set | Hammer into punctures |
| Drain covers | 24×24 in | 2 | Pre-measure your drain sizes |
| Chemical gloves | Heavy nitrile | 4 pairs | Match material to chemical |
| Goggles/face shield | Chemical-rated | 2 | Required for corrosives |
| Coveralls | Disposable | 2 | For serious spills |
| Half-face respirator | + cartridges | 1–2 | Cartridges matched to chemical |
| Disposal bags | Heavy-duty leakproof | 10 | Bag saturated absorbents |
| Shovel/dustpan | Non-sparking | 1 each | Non-sparking in flammable zones |
A kit in storage is a kit unused: placement and drills
Three rules for placement. First, keep it close to the risk: a spill station within about 100 feet of the hazmat cage, the loading dock, and any fueling point. Second, keep it visible — a yellow spill cabinet, not hidden behind racking, with a spill-response flowchart posted on the door. Third, don't lock it, or use a breakaway seal at most. Nobody has time to hunt for a key in an emergency.
Drill cadence. OSHA 1910.120(q) requires emergency response personnel to be trained and periodically retrained (check the OSHA website for current hour and frequency requirements). My practical recommendation: a tabletop walkthrough in every new hire's first week, a small hands-on drill every quarter (spill a bucket of water, ring it with socks, absorb it with pads), and one full-scale exercise per year — donning PPE, covering drains, bagging waste. Always debrief: were the socks deployed fast enough? Did the drain covers fit? Every drill exposes something on the checklist that needs fixing.
One note on waste: absorbents soaked with chemicals are hazardous waste — they don't go in the regular dumpster. Line up a licensed hazmat disposal vendor in advance, and walk the whole chain in your drill: bag it, label it, stage it, call the truck. Don't wait for a real spill to go looking for a phone number.
A question to take back to your floor: walk from your chemical storage to the nearest spill kit right now. How many steps? If it's more than about 150, or if the pads inside are damp and molding — this is the week to fix it. Spills don't wait until you're ready.